We are just 18 days away from the beginning of our Full Time RV living! I am definitely ready to get started. Right now we have lots of boxes around our house as we organize what we are taking with us and what is going into storage. We’re still purging quite a bit too, so we have piles everywhere. Piles to be donated and other piles that will go out with the trash on trash day. I really dislike clutter, so having all these piles and boxes just make me all the more eager to get moved into the RV. I’m longing for the simplicity of it all – less to clean, less to put away, just less stuff. More quality time, more adventure, more focusing on what is truly important.
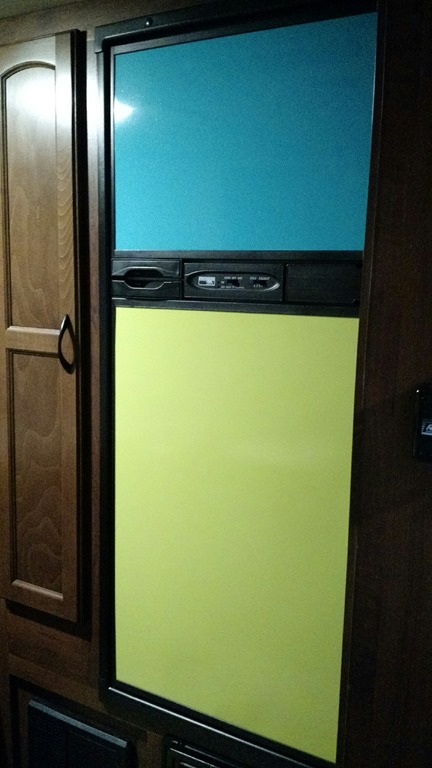
Anyway – I wanted to share the first major modification (mod) we made to the RV. We took our boring brown fridge and made it magnetic & colorful!
One thing we’ve noticed about RV designers – they must love the color brown. Everything is brown. Even when you buy a rig brand new and get to choose the fabrics you want, they all seem to just be different patterns of brown.
BEFORE – this is the way it came
Boring, right? We thought so. Our first order of business is getting some color into this new home of ours to liven it up a bit! I’m making curtains for our bunk area and for our daughter’s area, and we’ll be bringing in some floor mats and putting décor on the walls as we go, but this fridge mod was an easy one to tackle first. Besides, it serves 2 purposes – to add color and to make the fridge magnetic.
How we did it
After measuring the faces of our fridge/freezer, we went to Home Depot and bought a sheet of galvanized steel and some spray paint.
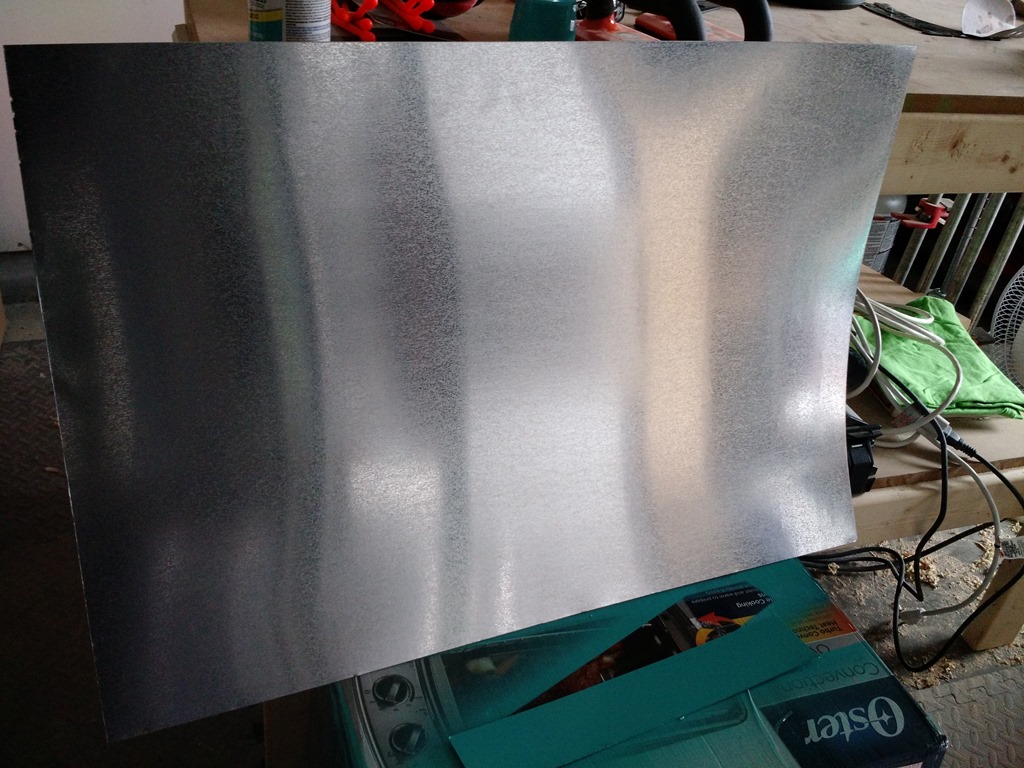
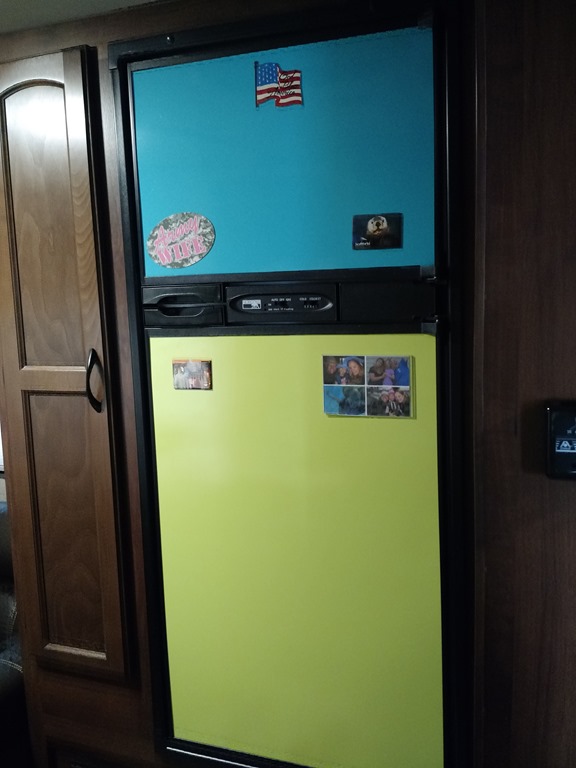
Hubby then cut the steel into 2 pieces – one for the fridge and one for the freezer. He lightly sanded each piece so the paint would adhere better and then gave each piece a couple coats of Rustoleum spray paint that was made for painting metal. We figured if we were going to add color, we might as well make it count, so we went for BRIGHT colors – lime green and turquoise!
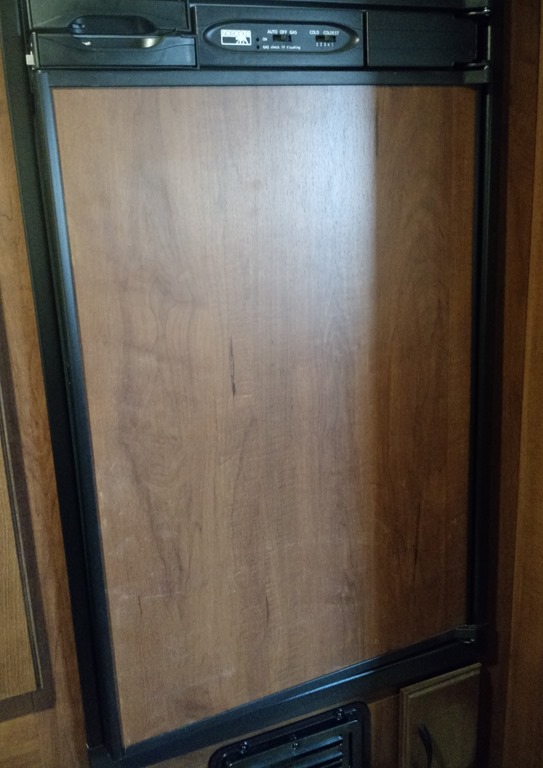
At first, we weren’t too sure how we could get the door apart since there were no visible screws to be found and we sure didn’t want to break our new fridge. After a little investigative work, we realized that the plastic strip opposite the hinges pulled off and went back on easily. You can see what I mean in the pictures I took as I took apart the freezer.
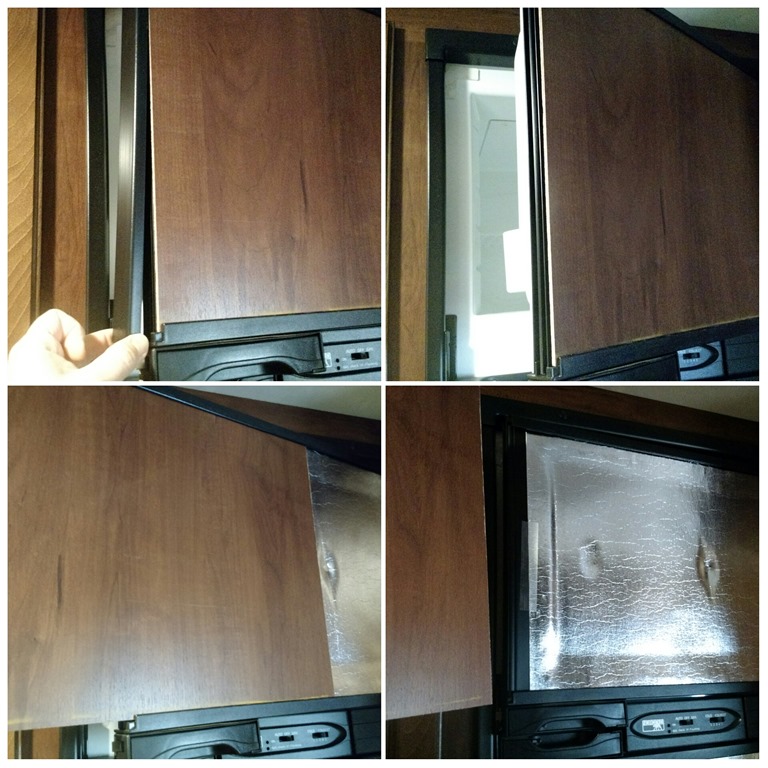
It turns out we didn’t even need to take out the original front pieces because the new metal ones slide in right in front of them. But in case you are wondering what your fridge looks like underneath those wood pieces, here you go.
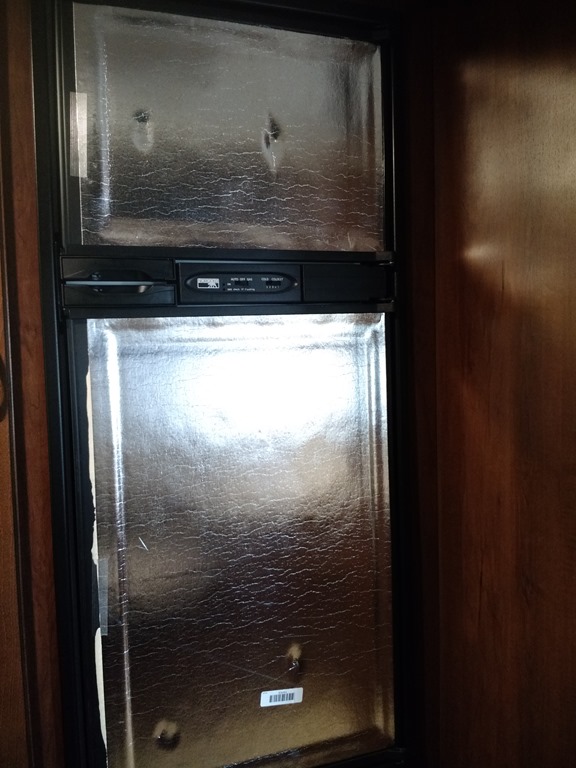
We put the wood pieces back in, then slid the new metal front pieces into place right in front of the original ones, and popped the plastic edging strip back on. Now we have a fun place to display the magnets we collect on our adventures!